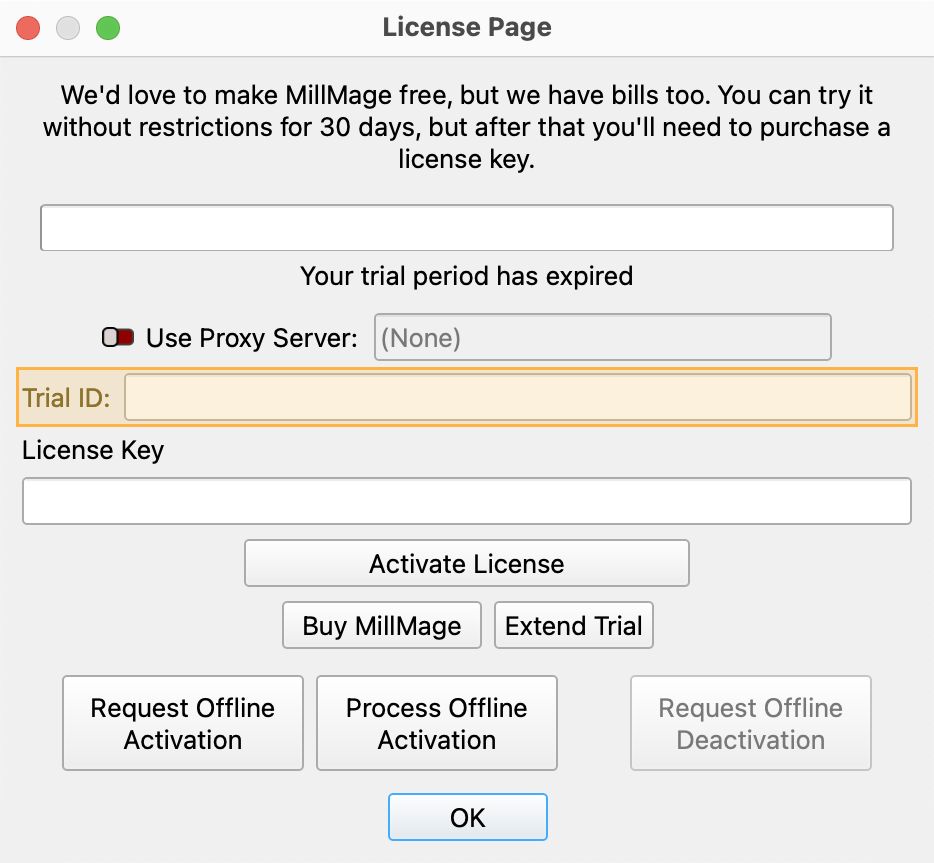
Trial Period or Updates Expiring? Email Trial ID to Support
Thank you for testing MillMage!
Release Candidate users who see a "Your trial period has expired" notice when opening MillMage can request an extension to the update period by emailing the MillMage Trial ID to the Support team.
Find your Trial ID in the License Management window. Email your Trial ID to [email protected] to start your request. The duration of the extended update period may vary.

Warning
The current version of MillMage is a Release Candidate — a stable version of software that is nearly ready for official release, but in need of additional public testing. Please report any unexpected behavior in the MillMage Software Questions section of our forum, including screenshots and as much detail as possible. Ask hardware compatibility questions in the MillMage Hardware Compatibility section.
Users new to MillMage should follow the Getting Started guide.
Video: How to Use a Release Candidate
This video features our sister software, LightBurn. While there may be slight differences in appearance and layout, the demonstrated processes are similar in MillMage.
Warning
This documentation is in active development and in a prerelease state. These documents are not complete and may include missing pages, broken links, and placeholders. Content is being updated as feedback is reviewed. Your patience is appreciated.
Example MillMage Workflow
Every MillMage project will have the same core workflow:
- Define the project's parameters with the Project Setup window or the Project Setup Wizard
- Create objects and designs or import artwork into the Workspace
- Assign machining operations to shapes
- Select tooling from the Tool Library and update or confirm tooling speeds and feeds
- Preview the upcoming operations
- Secure the material stock into the CNC machine's cutting work area
- Update or confirm project parameters
- Zero out the X, Y, and Z axis on either the machine's waste board/work area or on the material stock
- Preview the upcoming operations
- Execute the job, either through direct control of the machine or by saving and transferring the project GCode file to the machine
Next Steps
For more help using MillMage, please visit our forum to talk with MillMage staff and users, or email support.